Experimenting: Polaroid Photolab and Polaroid Transfers
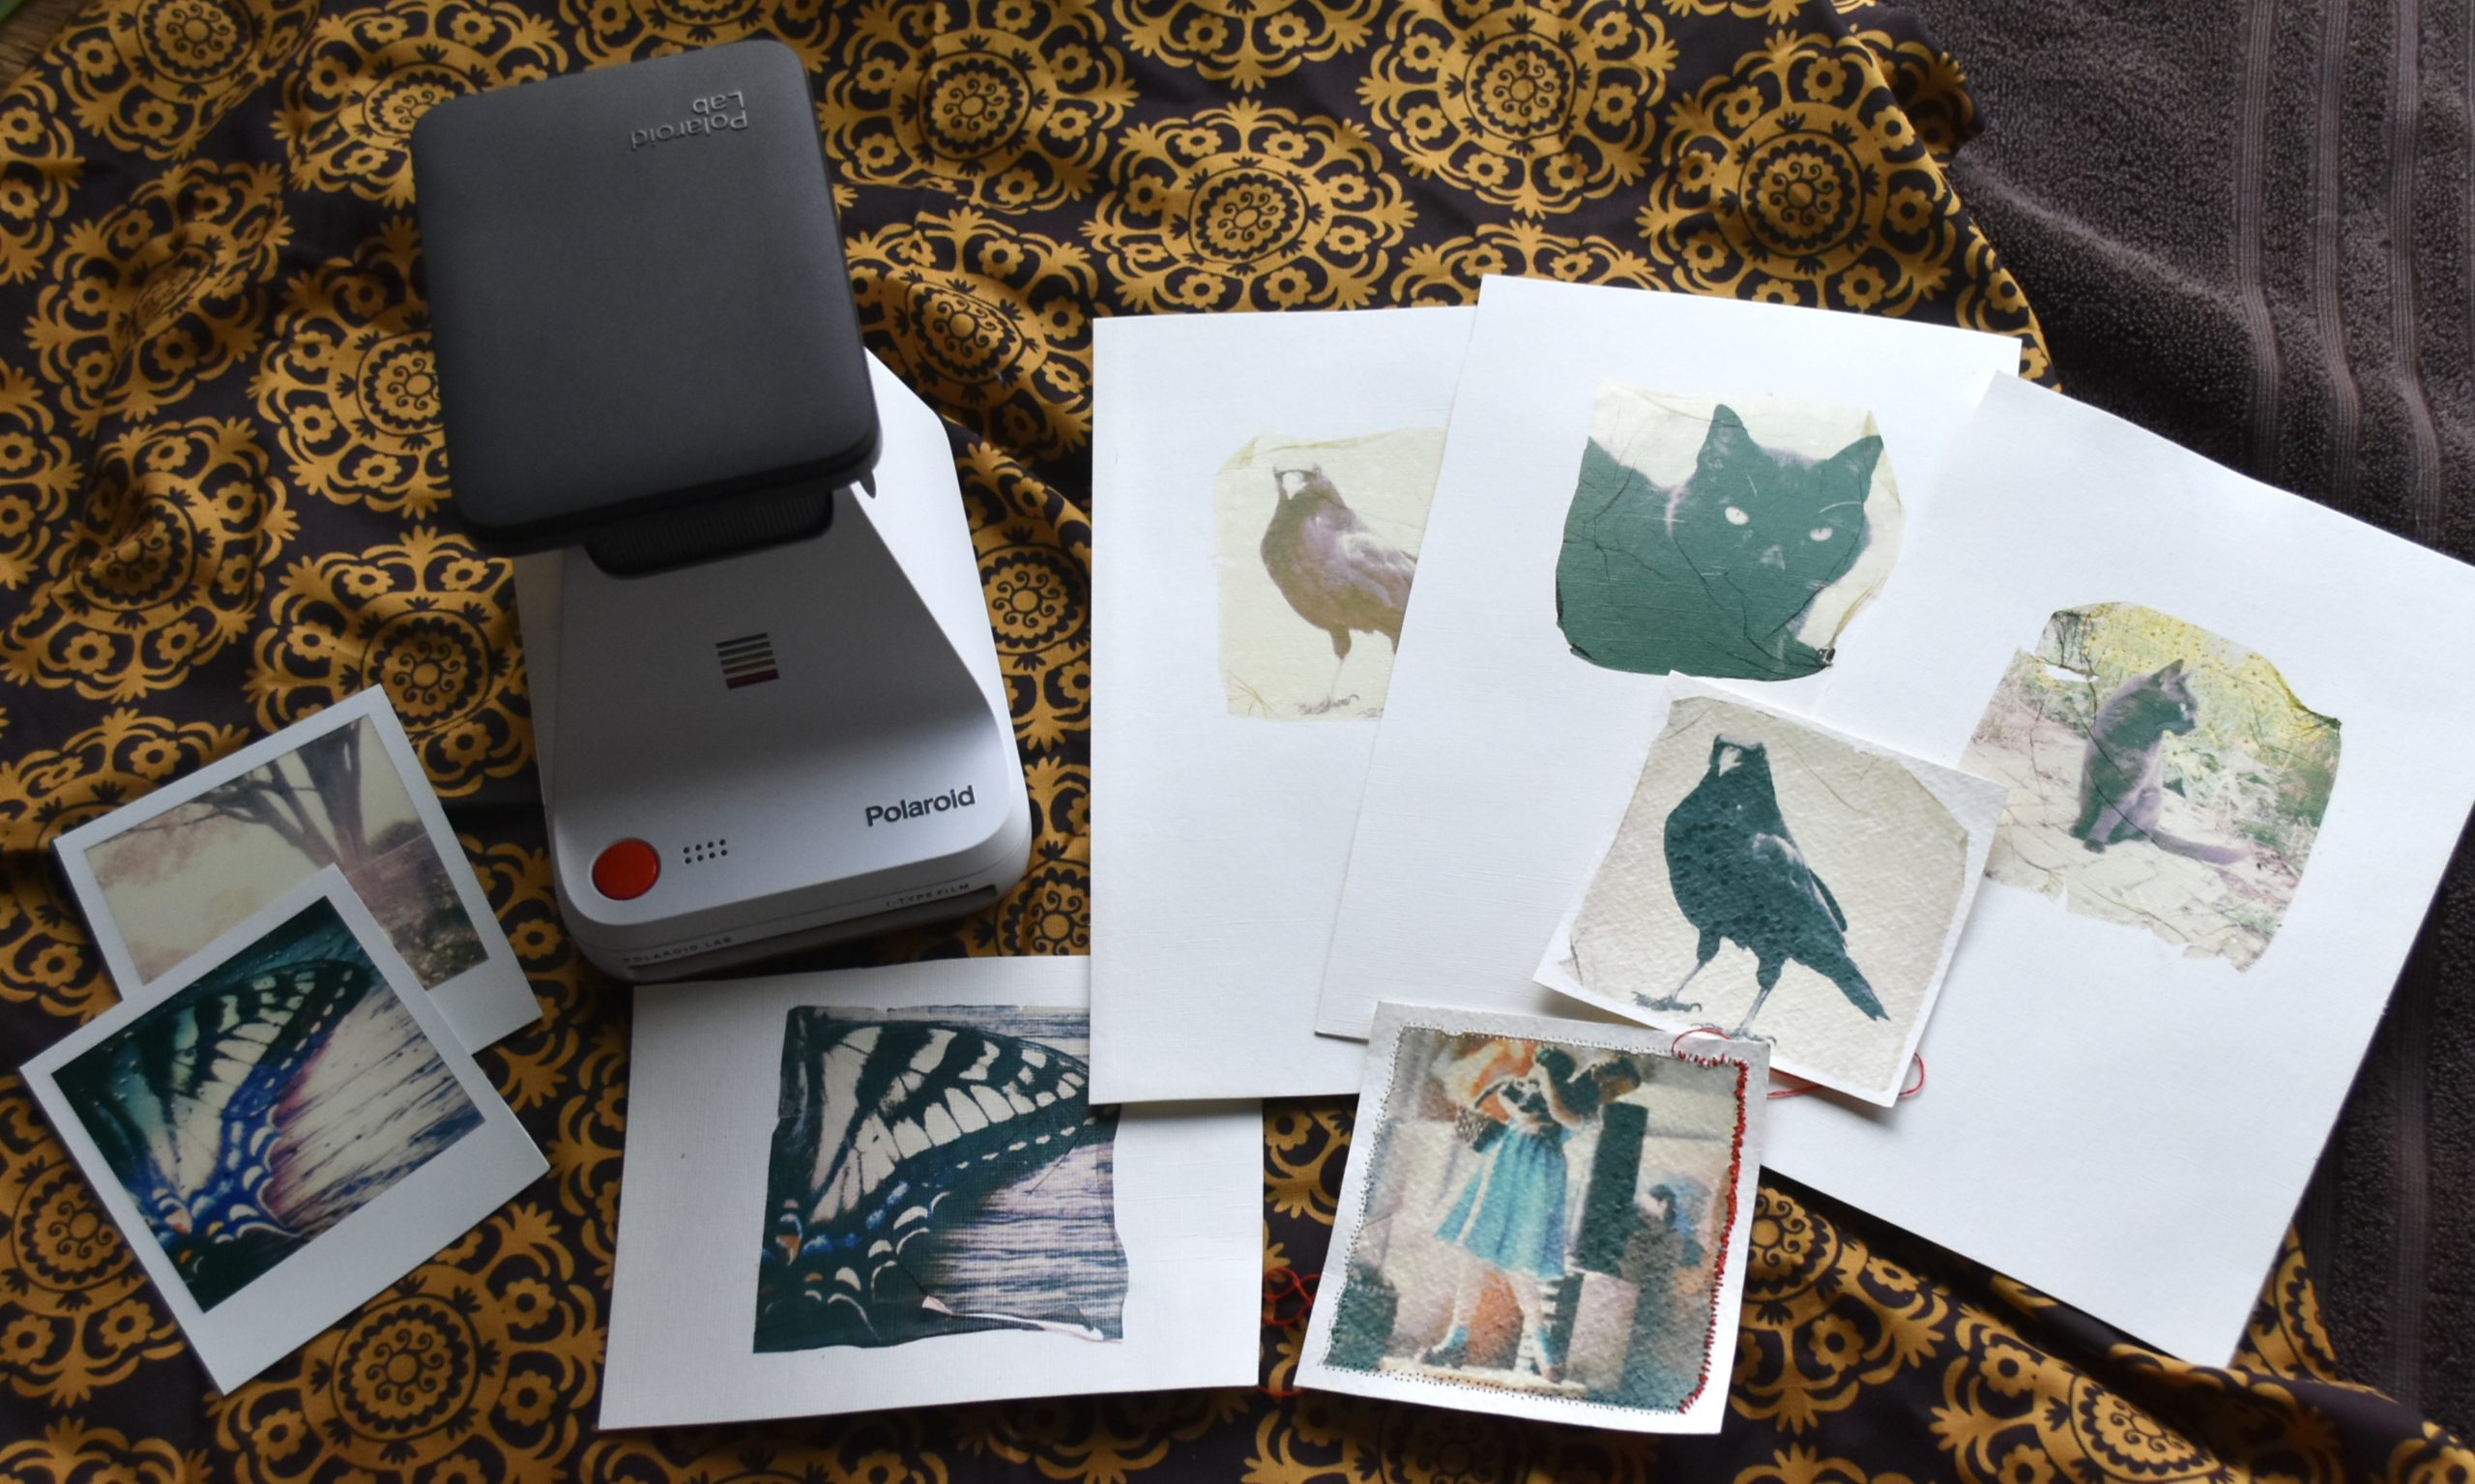
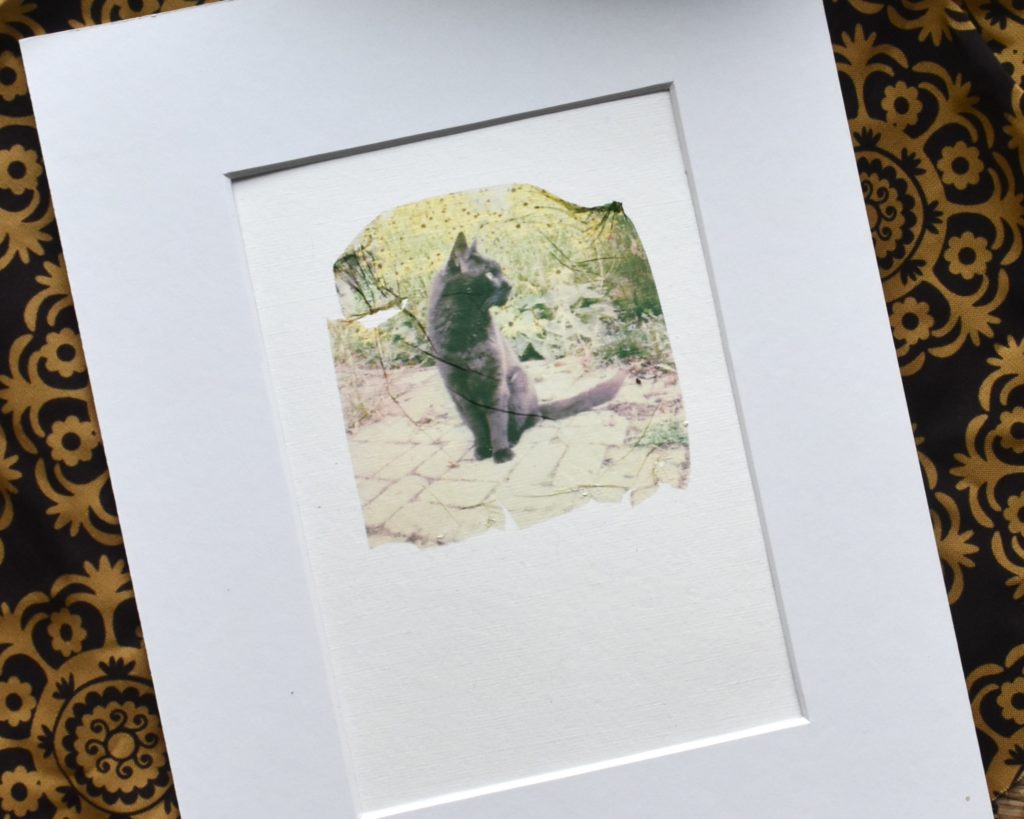
Polaroid emulsion transfers are a new process for me, but, I thought it would be fun to share some of the lessons I’ve learned so far.
(First, we are playing with chemicals so protect your skin and eyes accordingly)
I used:
- Polaroid Lab
- iPhone
- soft paint brush
- one casserole pan: other blogs suggest proper equipment. I like to use St. Vinnies.
- scissors
- warm water
- Strathmore linen finish acrylic paper.
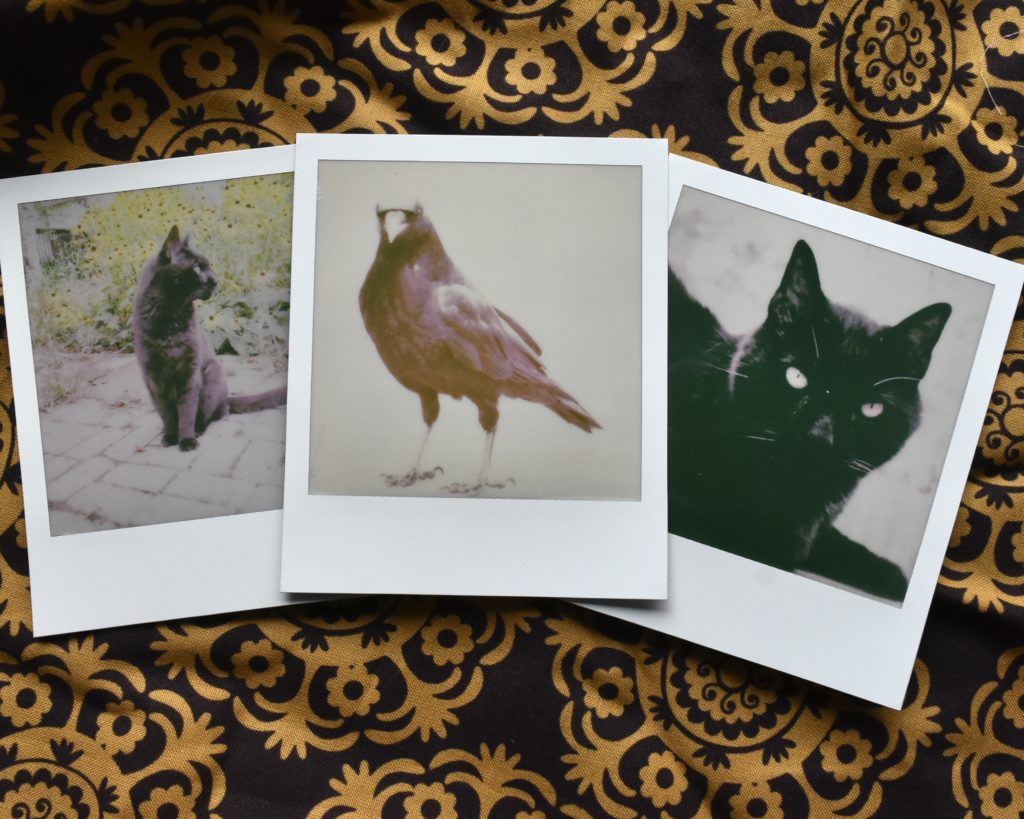
- Prepare fresh Polaroids.
- I was finding that even day old prints were harder to work with.
- There are a lot of editing opportunities to explore prior to printing with the lab. Color correction, adding artifacts, custom filters etc. I found that it was fun to explore the possibilities, but I had to pull myself back. I am an artist and as much fun as all that is, it is mostly unnecessary.
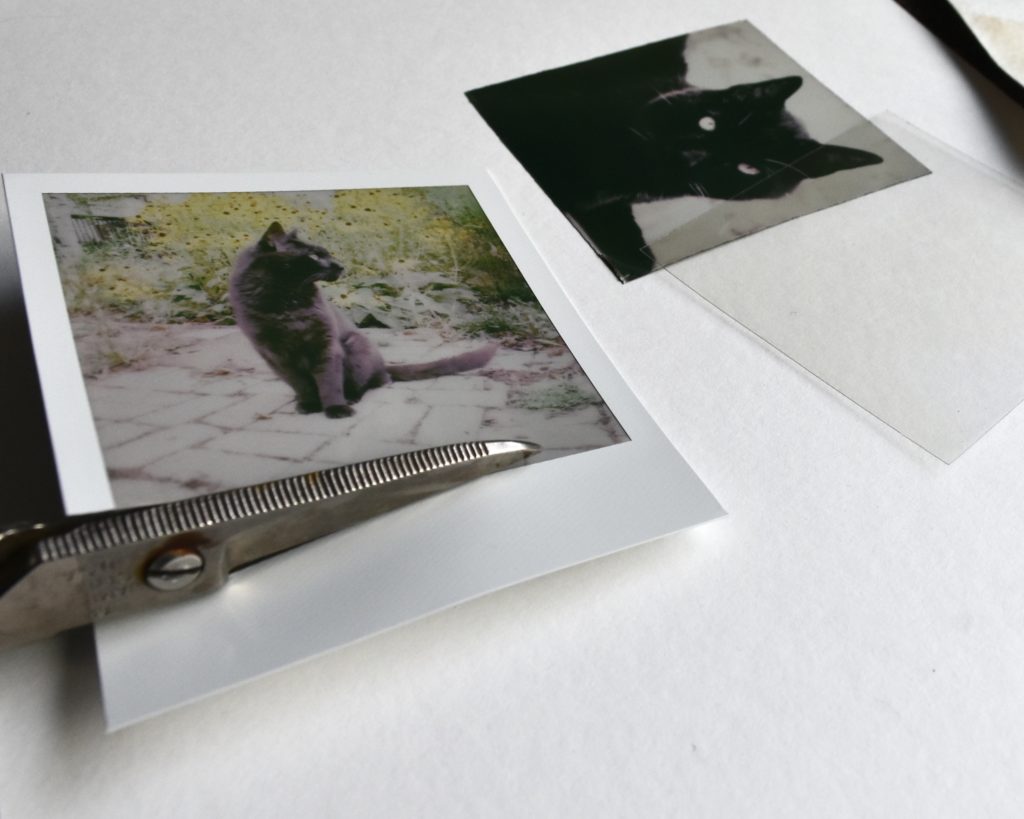
- I found that cutting out the image just about as soon as it was done developing allowed the cover sheet to lift off easier.
- When I used day old Polaroids they were ripping or they were sticking to the cover sheet and the lifting process didn’t go as well
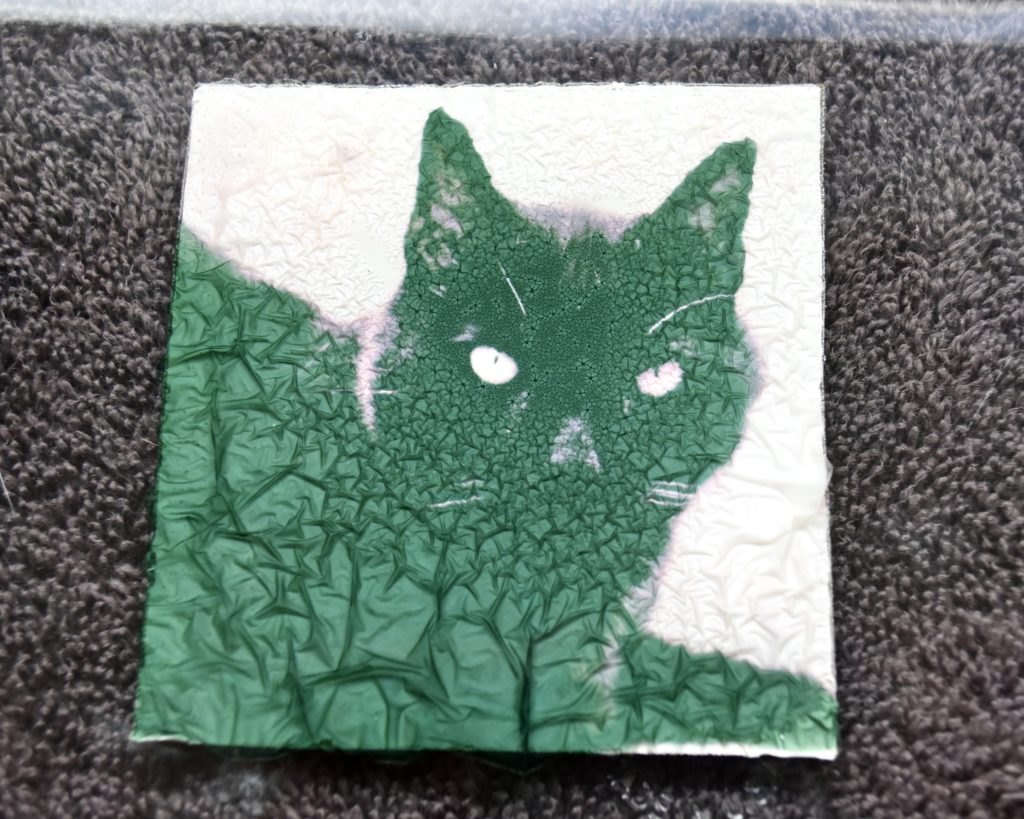
- The emulsion will lift from the backing in warm water.
- Working with the fresh Polaroid, the emulsion lifts fairly quickly
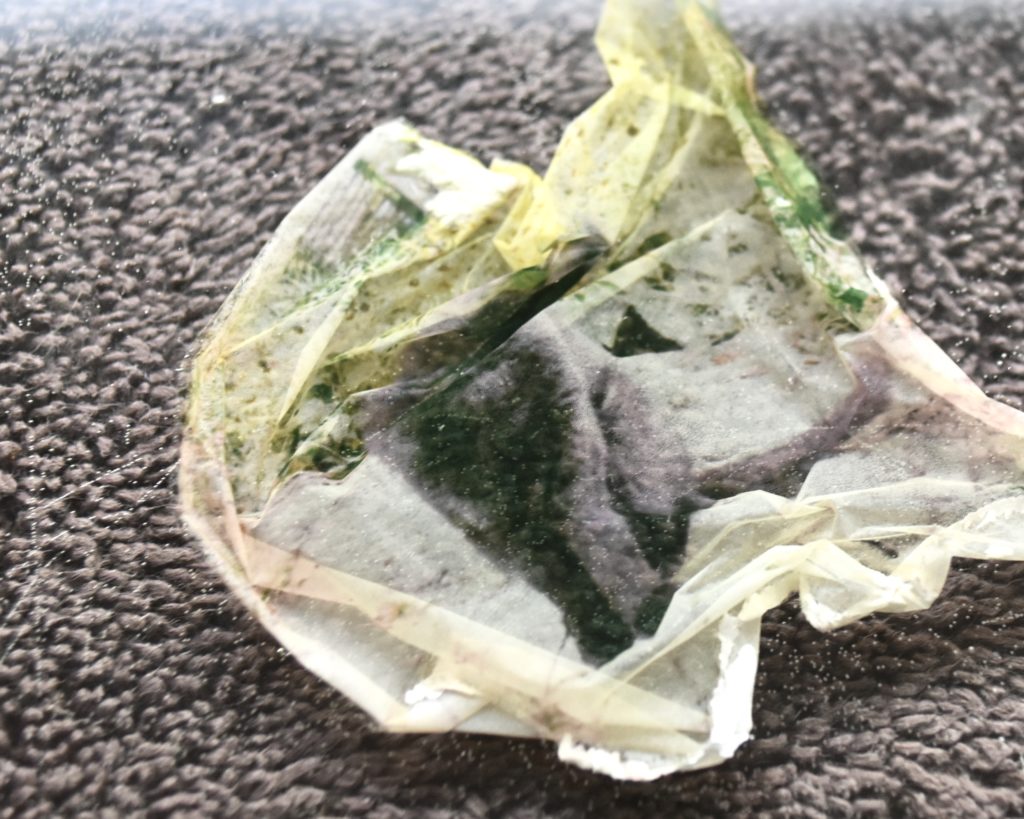
- Don’t use boiling water. I made a booger.
- By the time I got to the third polaroid the lift was near perfect. There does seem to be a correlation between timing and how easy the process goes.
- Some tutorials say to use two water baths, one hot water and one cold.
- I found for myself that one tray is enough.
- I also found that less water is helpful. just enough to cover the paper
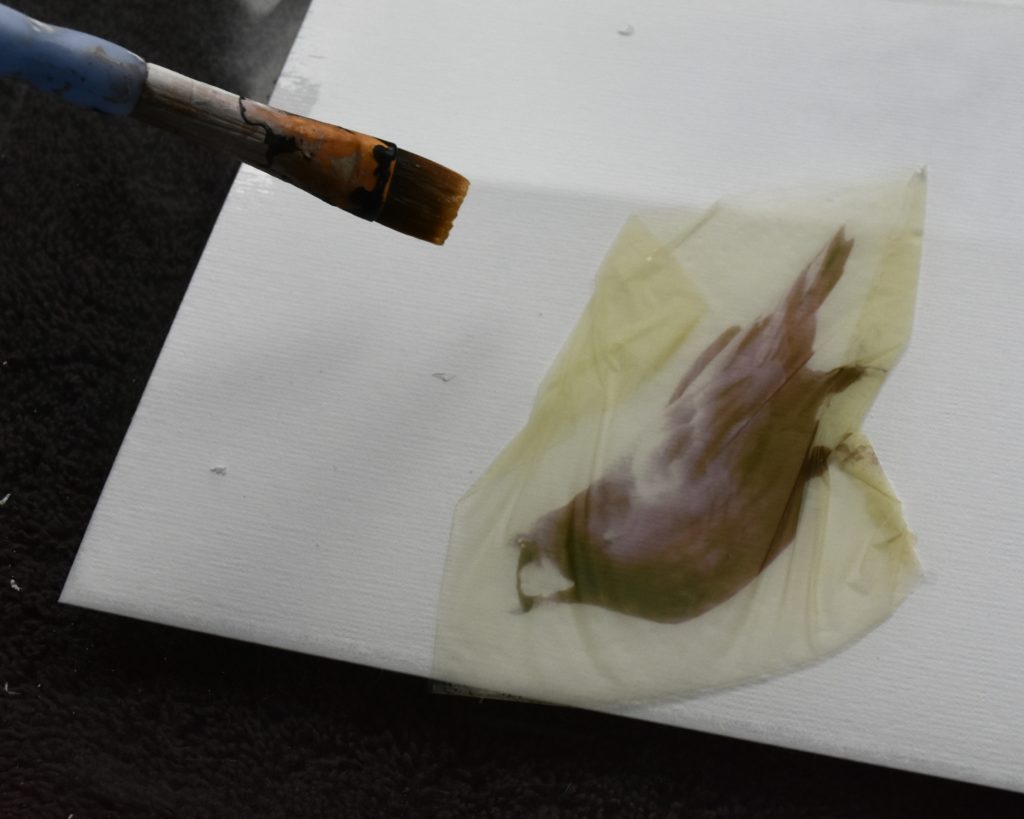
- I’m using a heavy weight paper made to take acrylic paint. It has a lovely texture to it. And Im using the brush to help move the emulsion around.
- When you get it where you want you’ll have to learn a technique for yourself to pin it to the paper while lifting it out of the water.
- A little water reintroduced will lift any problem areas▪️
Enter Your Email For a Newsletter with Book Recommendations and More
I’d Love To Hear What You Think